|
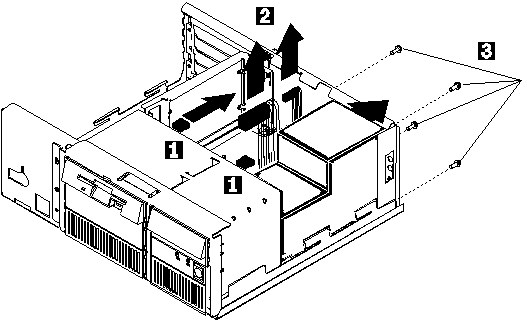
This is a little more involved than the 76 PSU, but still simple (after stripping 54+ 9577 systems, it's all too clear!). Open the case. Remove the rear bezel by prying the two catches between the corner of the case and the PSU. Undo the catch on the inside of the rear of the case (between the PSU and the riser card). The entire rear bezel will now pivot on two tabs that are on the side opposite the PSU. 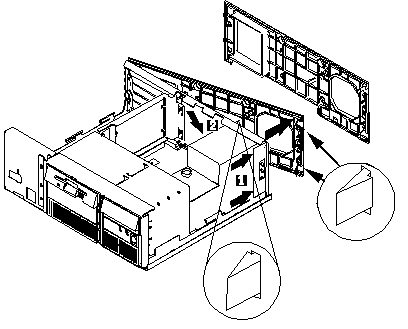
Now remove the four screws that hold the PSU in the case.
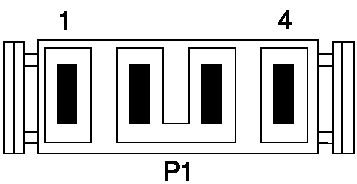
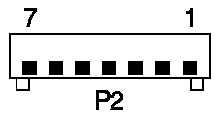
Unplug P1 and P2. Unplug any drives that are attached to the PSU. Move
the cables towards the front.
Checking the Output- If the power-on indicator is not on, check the power cord for proper installation and continuity. 1.Check for continuity between pins 4 and 6 (switch) on P2.
|