|
Installing Memory
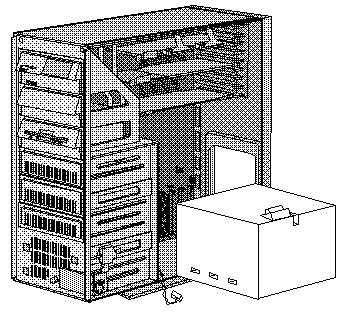
1. CAUTION: When
you tilt out the power supply, do not let it drop. Personal injury
or damage to the server might result.
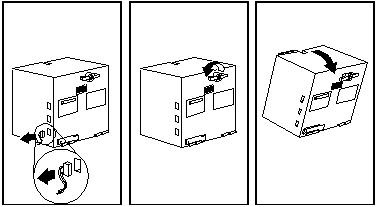
Tilt out the power supply:
a. Disconnect the twisted power cables
from the power supply.
b. Unscrew the spring-loaded power supply
retaining knob until it releases.
c. Place one hand on top of the server
to support it.
d. Tilt out the power supply with the
other hand. (Be sure the power cord is removed from the server before you
try to tilt out the power supply.)
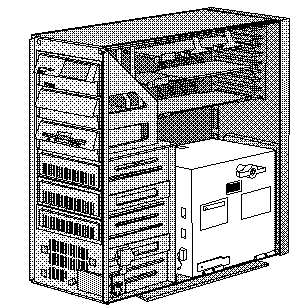
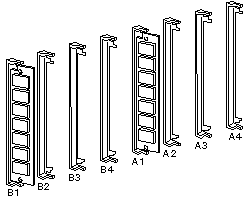
2. Locate the SIMM connectors. Some SIMMs are already installed.
SIMMs must be installed in pairs of
the same size, speed, and type.
All memory installed must be of the
same type (either parity or ECC).
When you are instructed to install the
SIMMs, install them in the following order:
A1 and B1, A2 and B2, A3 and B3, A4 and B4.
Notes:
a. Your server is shipped with SIMMs
installed in A1 and B1.
b. For information about the memory
types available for your server, see Memory.
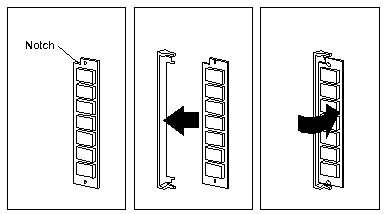
3. Touch the static-protective package to any unpainted
metal surface on the server. Then, remove the SIMM from the package.
4. Install the kit:
a. Turn the SIMM so the notched end
faces the top of the server.
b. Insert the SIMM into the connector.
c. Pivot it to the right until it snaps
into place.
d. Repeat these steps for each SIMM
you install.
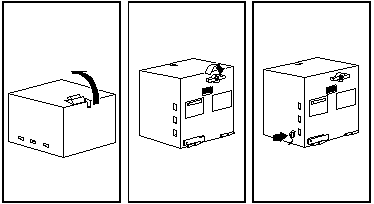
5. Reinstall the power supply:
a. Move the cables out of the way.
NOTE! If you have a SCSI CD rom
with an external terminator on it, this is referred to as a "guillotine"!
Carefully push the SCSI cable towards the front of the case while rotating
the power supply back in. Or you WILL
be sorry...
b. Tilt the power supply into the server.
c. Press in the retaining knob and turn
it to the right until it is tight.
d. Reconnect the twisted power cables
to the power supply.
9595 Main Page
|